IVIr.DOOIVI
Admin


Posts : 320
Points : 28594
How DOOIVIED am I : 322
Join date : 2009-05-16
Age : 52
Location : Vermilion, Oh
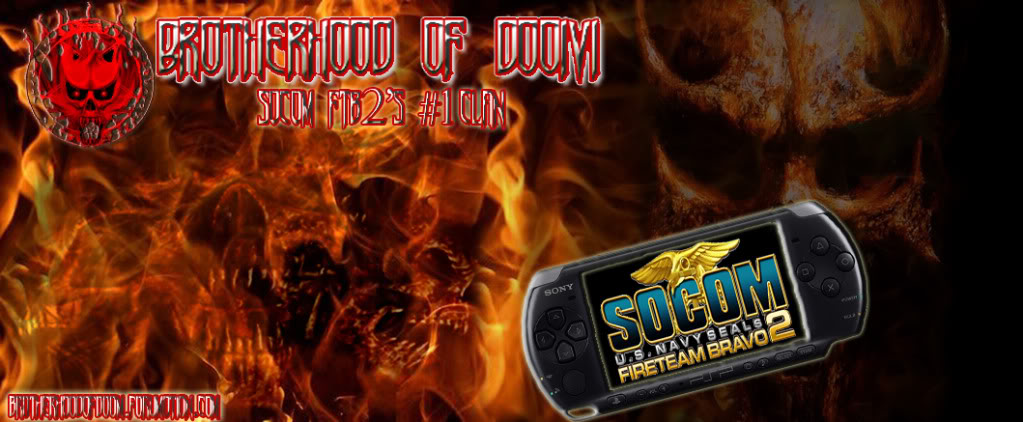
 |  Subject: Photoshop 101 The making of the DOOIVI header Subject: Photoshop 101 The making of the DOOIVI header  Sat Aug 22, 2009 4:23 pm Sat Aug 22, 2009 4:23 pm | |
| Thought I'd give a step by step building process I used for making the new header, for all the people trying to learn how to use photoshop. I'm just gonna show you the basic rundown not write a book so use trial and error and you'll get it.
First off I'll just show the element photos I used and then breakdown in what order I used them.
Just a plain flame pic

This was just used as a texture I used to lay into the flames

I only borrowed the skull from this one

Just a psp to cut and trim

Just a logo to cut and trim, had to use FTB2 in there!

Another logo to cut and trim, Just thought I should add it for things to come.

Ok step 1 just required me to open a new image box and select what size I wanted. You do this by clicking on "file" and then clicking on "new"
Step 2 I just used the paint bucket to fill the new image boxes background with what ever color I wanted, in this case it was black.
Step 3 I used place image to add the flames image to my new image box that I had just colored. You can also do this by clicking on "file" and then selecting "place".
Step 4 I used the cloning stamp tool to add the texture of the demon skulls to the flames. Then used my blending options to adjust the colors to make them seem like they were part of the fire.
This
Plus this
Equals this

Step 5 I again used the cloning stamp tool to add more flames across the whole image box. I gradually faded them lighter and lighter as I went across, to give it depth.
Step 6 I used the cloning stamp tool to borrow another demon skull and add it to the flames. A little more up front on this one though, as you will notice it seems to be coming out of the fire.

Step 6 I used a text I found and downloaded called "Nosferotica" and added it to the image then used contouring, shadowing, gradient overlay and lighting effects to give it some pop.

Step 7 I add the rest of my text and applied the same effects. Then used the eraser tool to trim and clean up the DOOIVI logo we know and love, then used the "place" option to add it to the pic. I also applied contour, shadowing and lighting effects to the logo.

Step 8 next I used the eraser tool to trim and clean up the psp image. Then placed it on the image. Then used some contouring and lighting effects.

Step 9 But then I was left with the issue of the screen being see through. So to correct this I created another new image box and colored it black then placed it under the image of the psp. The result was this......

Step 10 next I again used the eraser tool to trim and clean up the FTB2 logo and placed it inside the screen of the psp.
Step 11 I trimmed and cleaned up the FTB3 logo and added it, so that in November I wont have to update it!

And there you have it DOOIVI logo 101. I hope I gave some of you the general idea of how to use your programs. Although I didn't get into the tech stuff to much, but that is the fun part, just trying stuff for yourself! To me photoshop is sort of like a set of brushes and paints, and it's up to you to make the art work, so have fun!! I'll look forward to seeing what you guys do so please post it, I really wanna see what you come up with!
Thanks for reading, IVIr.DOOIVI aka Bryan ______________________________________________________________________________________________________________________________ | |
|
KiLLER_DOOIVI
Lt Jr Grade

Posts : 64
Points : 27187
How DOOIVIED am I : 57
Join date : 2009-08-17
Location : North Carolina
| | Subject: Re: Photoshop 101 The making of the DOOIVI header Sun Aug 23, 2009 9:27 am | |
| scary but still cool  | |
|
.SILVER_DOOIVI
Master Cheif Petty Officer


Posts : 39
Points : 27407
How DOOIVIED am I : 16
Join date : 2009-06-10
Location : TEXAS!!!!
| | Subject: Re: Photoshop 101 The making of the DOOIVI header Sun Aug 23, 2009 8:04 pm | |
| Ummmmm, ITS.......SCARY COOL! | |
|
Sponsored content
| | Subject: Re: Photoshop 101 The making of the DOOIVI header | |
| |
|


 Calendar

